

Os mais desejados
Nenhum produto nesta seleção.

Novidades
Nenhum produto nesta seleção.

Novidades do Blog

23 Março 2024
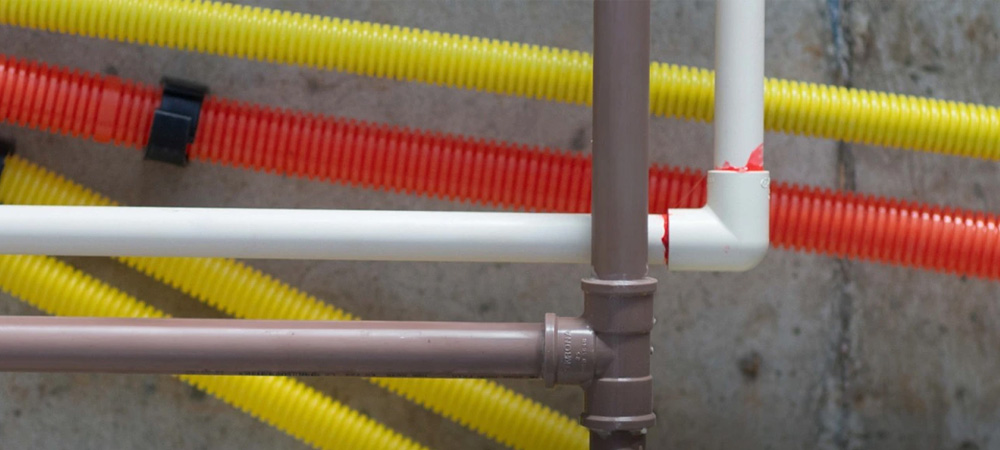
Entenda como planejar a instalação hidráulica residencial
A instalação hidráulica é uma das partes mais importantes de uma obra ou reforma residencial. Por isso, planejar essa etapa de forma cuidadosa é es...
Ler mais
16 Março 2024
Conexões roscáveis, soldáveis, junta elástica: qual a diferença?
Os mínimos detalhes fazem toda a diferença no acabamento de uma obra. E em meio a tantos detalhes técnicos, algumas questões podem gerar dúvidas, c...
Ler mais

28 Fevereiro 2024
Dicas para fazer um orçamento correto para os seus clientes
Se você é instalador hidráulico ou elétrico sabe que, em um mercado competitivo como o de serviços, o orçamento tem um papel fundamental. Acertar n...
Ler mais
